

 Published sources
 Product details checked
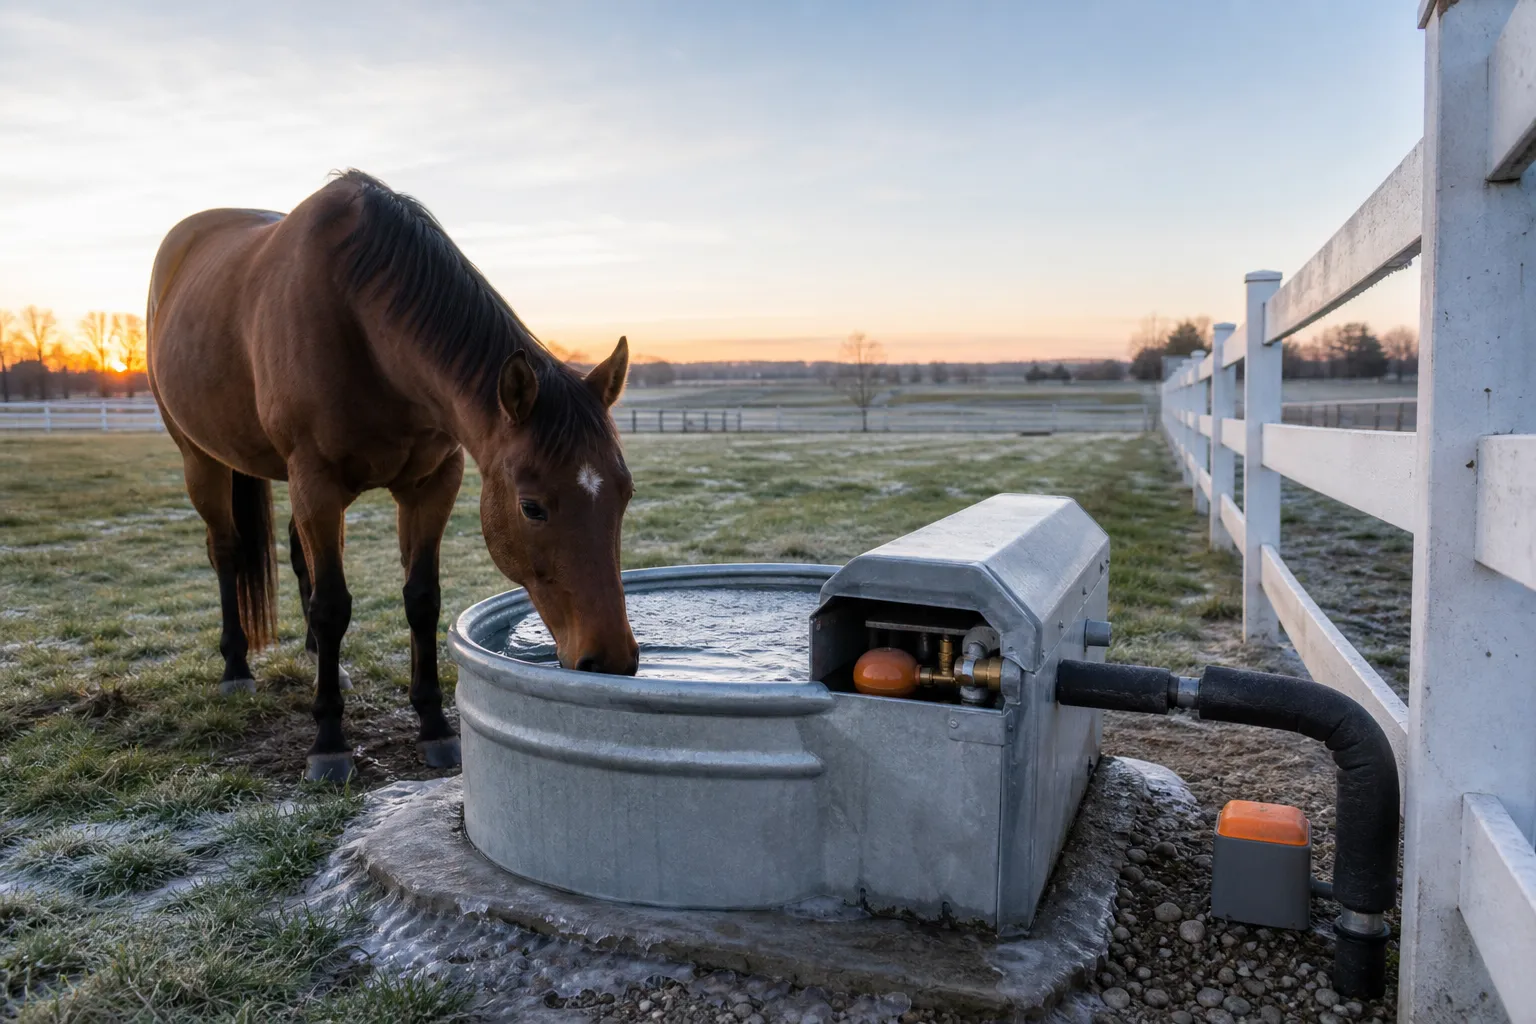
An automatic horse waterer should refill quietly after your horse drinks. When the bowl stays empty, runs continuously, leaks onto the ground, or freezes overnight, the failure is usually traceable to one point in the chain: water supply → filter screen → valve → float → basin → heater and power.
Quick answer: keep your horse on a clean backup water source, shut off the waterer, and diagnose in that order. A closed or frozen supply line can look like a bad float valve. A clogged inlet screen can look like low water pressure. A leaking seal can look like an adjustment problem. Fixing the first failed point is safer and cheaper than replacing the whole waterer immediately.
Protect the horse before touching the waterer
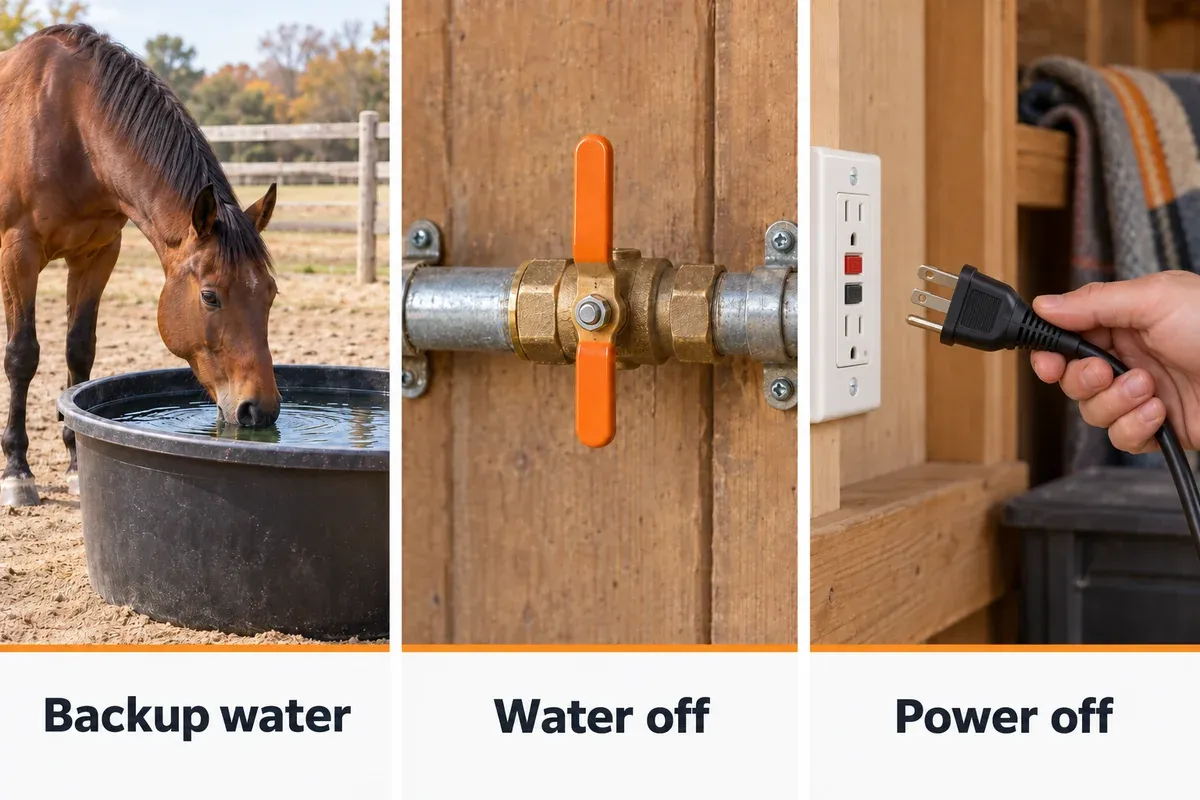
Water is the priority. Put out a clean, suitably sized backup tub before shutting down the automatic unit, especially in hot weather or if several horses share the waterer. A horse that suddenly drinks much less, seems unwell, or shows colic signs needs prompt veterinary attention; a plumbing repair cannot rule out a health problem.
Before investigating:
- Close the water supply shutoff. If the bowl is connected to a pressurized line, do not loosen a fitting until pressure has been relieved.
- Disconnect the heater or de-icer at the receptacle before removing it from water. Do not reach into a wet waterer near an energized cord.
- Never thaw a line with an open flame, torch, or improvised high heat. Warm water and controlled, manufacturer-approved methods are safer.
- Stop and call a qualified plumber or electrician for underground leaks, damaged wiring, repeated GFCI trips, unknown barn wiring, or a waterer that is energized in standing water.
The three checks below come before the fault tree. Keep the backup tub available until the repaired waterer fills and shuts off reliably.
Fault tree: find the first failed point
Start with the symptom you can see. Do not adjust the float or buy a heater until the supply path has been checked.
| What you see | First branch to test | Likely fault | Next safe move |
|---|---|---|---|
| Bowl is empty and completely silent | Is water reaching the inlet? | Closed shutoff, frozen line, disconnected hose, or no pressure | Keep backup water available; trace the line back to the source |
| Bowl is empty but the line has pressure | Is the inlet screen or valve passage open? | Sediment, hay, scale, or a stuck valve | Shut off and depressurize; clean the screen and inspect the valve |
| Bowl fills very slowly | Is the flow weak before the valve? | Clogged filter screen, kinked line, low pressure, or undersized supply | Test flow at the waterer and clean the inlet path |
| Water never stops running | Can the float move freely and shut the valve? | Bound float arm, waterlogged float, debris at valve tip, worn seal, or excessive pressure | Shut off water; free the float, then inspect the valve and seal |
| Puddle appears around the bowl | Where does the first drop come from? | Hose or pipe fitting, valve seal, drain, cracked basin, or overflow | Dry the unit and use a paper towel to locate the source |
| Ice is in the bowl but the line is open | Is the heater actually rated for this unit? | Failed heater, tripped GFCI, wrong de-icer type, or insufficient protection | Keep power off until the dry-side circuit and heater setup are safe |
| GFCI trips when the heater starts | Does it trip again after one controlled reset? | Moisture, damaged cord, heater fault, or wiring problem | Do not keep resetting; remove the electrical load and call an electrician |
The short version
- No water at the inlet: solve the shutoff, frozen line, or pressure problem.
- Water at the inlet but no refill: solve the filter, valve, or float problem.
- Refill does not stop: solve float movement, valve debris, seal, or pressure.
- Water reaches the bowl but freezes: separate frozen plumbing from heater and power faults.
- Any unexplained electrical behavior: leave the waterer de-energized and get qualified help.
If the automatic horse waterer is not filling
1. Confirm the shutoff, hose, and source
Follow the supply line from the bowl to the nearest shutoff. A valve that is only partly open can create a slow refill; a kinked flexible hose can create the same symptom. If the waterer shares a branch with another trough, test whether the other fixture changes when its valve is opened.
With the water supply off, inspect the hose end and connection for crushed washers, a split hose, or a fitting that has pulled sideways against the waterer. Do not assume a garden-hose connection is interchangeable with a 1/2-inch pipe or NPT connection. The 88SW, for example, specifies a 1/2-inch connection and a 20–50 psi operating range in its instructions.
If the line is empty, open, and still produces no water at a safe test point, the fault is upstream. A plumber may need to check the source valve, well pressure system, pressure regulator, or buried section of line.
2. Clean the inlet filter screen before changing the valve
Sediment, rust flakes, scale, and pieces of bedding can restrict the small inlet passage. Turn off and depressurize the line, remove the screen or strainer if the model provides one, and rinse it. Use a soft brush for scale; do not drive a sharp object through a mesh screen or damage the valve seat.
If the screen clogs again quickly, the problem is not solved by repeated rinsing. Look for a serviceable inline filter upstream and make it accessible for cleaning. An installation guide from Equuspring also recommends an inline filter to keep particles away from a float valve. The correct replacement screen remains model-specific, so match the waterer’s parts diagram rather than buying a generic screen by appearance.
3. Inspect the float and valve passage
After the inlet is clean, move the float through its full travel with the water off. It should not rub the cover, basin, mounting wall, hose, or other hardware. On an 88SW-style unit, the manufacturer’s instructions specifically call out a float arm that is not free, a float that hits the cover, water inside the float, debris at the valve tip, and a damaged valve seal as separate checks.
A waterlogged float will not rise enough to close the valve. A bent arm can also leave the bowl empty because the valve never opens, or cause a constant overflow because it cannot rise far enough. Replace a damaged float or arm with the part for the exact model; do not force the arm into a new angle just to make the water level look right.
4. Measure pressure instead of guessing
Pressure matters in both directions. Too little pressure produces a weak or nonexistent refill. Too much pressure can prevent the valve from seating cleanly and can turn a minor seal problem into a constant stream. The 88SW instruction sheet specifies 20–50 psi; other waterers can have different limits, so the model manual wins.
Measure at or near the waterer if possible, not only at the well tank. A regulator, long run, frost-free hydrant, partially closed valve, or clogged filter can make pressure at the bowl different from pressure at the source. If measured pressure is outside the manufacturer’s range, correct that plumbing issue before replacing the float valve.
If the waterer keeps running or overflows
A running valve is a diagnostic clue, not a reason to turn the float screw at random.
- Shut off the water and remove the visible debris. Hay, grit, and scale can keep the valve tip from seating.
- Check the float’s full travel. It must rise without touching the lid, sidewall, or mounting surface.
- Check the float for water inside. A leaking float stays heavy and cannot shut off reliably.
- Check the seal and valve tip. If the valve still runs after cleaning and the pressure is correct, the seal or valve assembly may be worn.
- Check overflow height and mounting. A waterer mounted out of level can make the float setting misleading and can direct water over the rim.
Do not leave a continuously running waterer unattended. It wastes water, can undermine soil around a post or foundation, and can create an ice hazard. The Miller stock-waterer valve assembly kit lists a valve and washers for several compatible stock-waterer models, including 88SW and 88ESW. That does not make the kit universal: compare the model and parts diagram first.
If the horse waterer is leaking
Turn the water off, dry the outside, and use a strip of paper towel to identify the first wet point. Check once with the bowl empty and again while it is filling. Water can travel along the underside of a bowl, making a leak appear several inches away from its source.
Leak at the supply fitting
Inspect the hose washer, threads, and connector for cross-threading or a cracked fitting. Use only the sealing method specified by the manufacturer for that joint. Do not overtighten a plastic housing or a thin metal connection; overtightening can distort the seal and create a leak that looks like a loose fitting.
Leak at the valve or drain
If the leak stops when the supply is closed but appears at the valve body or drain connection, replace the correct washer, seal, or valve assembly. The 88SW parts list identifies the SW8 seal and SW20 valve among the relevant service parts. A generic rubber washer may have the wrong thickness, hardness, or inside diameter and can make the valve stick.
Leak through the basin
A crack, corrosion hole, or failed seam is a replacement decision, not a float adjustment. Do not rely on an unknown adhesive patch where a horse can rub, chew, or drink from the repaired surface. Compare the cost and fit of a replacement bowl or complete waterer, and confirm that the connection and pressure range match the existing installation.
If the waterer or supply line is freezing
First separate where the ice forms:
- Ice in the supply line: the water cannot reach the valve. Improve burial depth, insulation, wind protection, or approved line heat according to local conditions and the manufacturer’s instructions.
- Ice at the inlet or valve: water may reach the line but freeze at the exposed metal or small passage. Clean the screen and remove ice only after the water supply is isolated.
- Ice in the bowl: the plumbing may work while the bowl loses heat. A compatible thermostatic de-icer or waterer-specific heater may help.
- Ice around the cord or receptacle: treat this as an electrical safety problem, not a freeze-up to clear by hand.
Use warm—not scalding—water to thaw an accessible plastic or metal section, then look for the reason it froze. Open flame and aggressive heat can damage hoses, seals, paint, and nearby materials. The 88SW instructions also warn against wrapping a garden hose with heat tape because the hose can soften and leak. Do not add heat tape to a water line unless the product and installation method explicitly allow it.
Choosing a de-icer without creating a new hazard
The heater must match the tank type, water volume, submersible or floating design, wattage, and power circuit. Farm Innovators’ traditional submersible de-icer line describes thermostatically controlled units with protective cages and models intended for plastic or metal tanks. Its floating de-icer line is intended for metal tanks, which is a critical distinction.
That means a 1000W submersible tank de-icer is not automatically a safe drop-in heater for a small 4-gallon automatic bowl. A heater can be correctly rated for a large stock tank and still be unsuitable for a compact bowl, its float mechanism, or its water depth. Follow the exact heater and waterer manuals, keep the element submerged as required, protect the cord from horses, and unplug at the receptacle before removal.
Checking power and GFCI behavior
On a dry side of the installation, check whether the receptacle or GFCI has power. A single reset may be reasonable when the area is dry and the wiring is known to be safe. If the GFCI trips again, leave the heater disconnected. Repeated resets can turn a warning into a shock or fire risk.
The Klein Tools RT250 instructions describe testing common wiring conditions and GFCI trip time at a standard North American 120V receptacle. This type of tester can help identify a dry-side outlet problem, but it cannot certify a wet livestock installation, test an underground cable, or repair a damaged heater. Call an electrician for those faults.
Products that match a defined failure
Buy only after the diagnosis points to a compatible part or application. A new float valve will not clear a frozen buried line, and a powerful de-icer will not repair a leaking seal.
Targeted parts and tools for this repair
-
Little Giant Trough-O-Matic TM825 Stock Tank Float Valve
Little Giant
Plastic-housing float valve that automatically maintains water level in compatible stock tanks. The product documentation states up to 245 GPH and a 20–50 psi operating range.
- 3/4-inch garden hose connection
- Up to 245 GPH manufacturer claims
- 20–50 psi published range
- Best for
- Replacing a compatible 3/4-inch float valve in a stock tank or trough
-
Farm Innovators 2-Pack Submergible Tank De-Icer, 1000W
Farm Innovators
Two 1000W submersible de-icers in protective cages. the product documentation says they are thermostatically controlled and suitable for plastic or metal livestock tanks; the tank volume, power circuit, and installation still have to match the manual.
- Two 1000W submersible de-icers
- Thermostatic control
- Protective cage around each heating element
- Best for
- Larger plastic or metal stock tanks that need thermostatic freeze protection
-
Klein Tools RT250 GFCI Outlet Tester with LCD
Klein Tools
LCD receptacle tester that displays voltage, common wiring conditions, and GFCI trip time. It is a diagnostic aid—not a repair, a load test, or proof that a wet livestock installation is safe.
- Backlit LCD
- GFCI trip-time display
- Common wiring-fault detection
- Best for
- A dry-side check of a North American 120V receptacle or GFCI circuit
Review the linked product page before purchasing.
Float-valve replacement: only when the valve is actually the failure
The Little Giant Trough-O-Matic TM825 is a sensible candidate when the existing installation uses a compatible 3/4-inch garden-hose connection and the valve itself no longer closes after cleaning, float checks, and pressure correction. the product documentation reports up to 245 GPH and a 20–50 psi range. Verify those requirements against the actual waterer; the TM825 is not the same part as the 88SW’s SW20 valve.
Check current price on Amazon →Tank de-icer: for a matching larger tank, not a guess
The Farm Innovators 2-pack 1000W submersible de-icers are designed around larger stock-tank use. the product documentation’s thermostatic control and protective cages are useful features, but two units do not make the setup automatically safe. Confirm tank volume, minimum water depth, plastic or metal compatibility, circuit capacity, GFCI protection, and cord protection before purchase.
Check current price on Amazon →GFCI tester: a dry-side diagnostic aid
The Klein Tools RT250 is useful when a known-dry North American 120V receptacle is part of the troubleshooting path.
Check current price on Amazon →Repair or replace? Use the failure, not the frustration
| Confirmed failure | Usually the right response | Avoid |
|---|---|---|
| Dirty filter screen | Clean or replace the exact screen; add an accessible upstream filter if sediment returns | Replacing the full waterer without checking the inlet |
| Float arm binds | Remove the obstruction, correct mounting, or replace the exact float part | Bending the arm until it barely shuts off |
| Valve leaks after cleaning and correct pressure | Install the model-specific seal or valve kit | Mixing generic washers and guessing at thickness |
| Cracked or corroded basin | Replace the bowl or complete waterer | An untested patch in a chew- and rub-accessible area |
| Frozen exposed line | Thaw safely, then improve insulation, routing, or burial | Torch, open flame, or unapproved heat tape |
| Heater trips GFCI | Leave it disconnected and have the circuit or heater inspected | Resetting the GFCI repeatedly |
Maintenance that prevents the next failure
Automatic does not mean maintenance-free. A simple schedule catches most failures while the horse still has water:
- Daily: confirm the level, remove hay and manure, and check that the horse can reach the water comfortably.
- Weekly: scrub the bowl, move the float through its travel, look for drips, and check the hose or pipe for rubbing and kinks.
- Monthly: isolate the supply, inspect the inlet screen, look for scale around the valve, and test the shutoff.
- Before freezing weather: clean the screen, test the waterer at normal pressure, check insulation and exposed line, verify the heater’s type and GFCI circuit, and put the backup tub where it can be filled quickly.
- After a freeze or power outage: inspect for split hoses, cracked fittings, a stuck float, and leaks before returning the unit to unattended operation.
For broader model selection, see our automatic horse waterer comparison. Winter water is only one part of cold-weather management; our horse blanket temperature chart can help you account for coat, wind, rain, age, and shelter separately.
Frequently Asked Questions
Why is my automatic horse waterer not filling?
The most common causes are a closed or frozen supply line, low pressure, a clogged inlet screen, or a float/valve that is stuck. Start at the source and work toward the bowl. If water reaches the inlet but not the basin, clean and inspect the screen and valve before adjusting anything.
Why does the waterer keep running after the horse walks away?
The float may be binding, waterlogged, incorrectly mounted, or unable to close the valve because of debris, a worn seal, or pressure outside the model’s range. Shut off the supply while diagnosing; a running waterer can create flooding and ice.
Can I use any heat tape on the hose?
No. The Little Giant 88SW instructions warn that heat tape on a garden hose can soften the hose and cause leaks. Use only a product and installation method specifically approved for that pipe or hose, or have a qualified installer design the freeze protection.
Can I pour boiling water on a frozen waterer?
Use warm water cautiously on an accessible section after isolating the supply. Boiling water and sudden temperature changes can damage some plastics, seals, and fittings. Thawing without correcting insulation, burial, wind exposure, or heater compatibility only postpones the next freeze.
What water pressure does an automatic horse waterer need?
It depends on the model. The Little Giant 88SW instructions specify 20–50 psi. Treat that as an 88SW requirement, not a universal rule. Measure pressure near the waterer and compare it with the exact manual.
Is a de-icer safe in a plastic tank?
Only when the exact de-icer is rated for the tank material and installation. Farm Innovators lists submersible models for plastic or metal tanks, while its floating line is intended for metal tanks. A de-icer for a large stock tank is not automatically suitable for a small automatic bowl.
What if the GFCI keeps tripping?
Disconnect the heater or de-icer and stop resetting the outlet. Moisture, a damaged cord, a failed element, or a wiring fault can all trip a GFCI. Keep the horse on backup water and have the circuit inspected by a qualified electrician.
Bottom line
Diagnose an automatic horse waterer from the water source toward the bowl: shutoff and frozen line, pressure, filter screen, valve, float, seal, and only then heater and power. That sequence keeps a clogged screen from becoming an unnecessary replacement and keeps a de-icer or electrical tester from being used outside its safe job. Keep backup water available until the unit fills, shuts off, and remains leak-free through a complete test cycle.